I don’t think I’ll make this a habit, but the Adobe Premiere Pro Editors Facebook group asked the community to share their timelines. I was mid-export for a delivery so I bit. Here’s a slightly cleaned-up version of what I commented there.
Premiere Pro
The intro is a short featurette about the film the podcast is covering and will play in some theatres nationwide.

The podcast is 16:9 but has trailer clips that are 2:1, and I didn’t want to crop in, hence the black video beneath.
The yellow clips are the multicam clips for the show itself.
The purple clips bookending the spot are the show’s standard intro and outro elements.
I used very few transition elements—a couple dips to black, and I really love having the Film Impact Motion Camera transitions, so I use them where I can. This cut has one Motion Camera transition at the top to take us into the featurette and one at the end to take us to the endcard.
This cut also has open captions.
Music bed and sting at the end in blue, and the VO track is in blue because I got lazy.
Avid
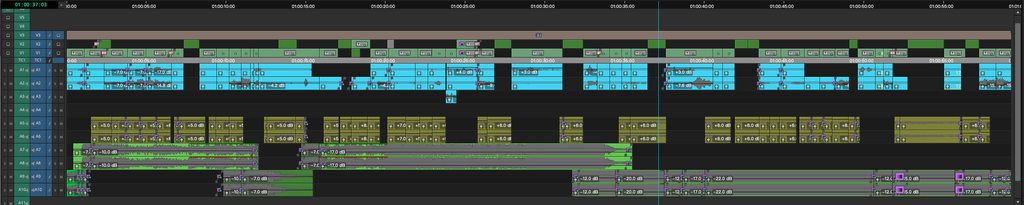
The mustard green on A5 and A6 is the radio cut I got from my producer, which was nice to not have to worry about. He sent way more material than I needed, so I had tons of options to play with while I made the music bed (greens at the bottom), with lots of trailer-y dropouts, suck backs, etc.
I then papered over the radio cut with the pale green feature clips on V1, which have mono DIA and FX from the rough feature on A1 and A2 (and a cheat on A3).
Dark greens on V2 are the interview clips that match the mustard green audio on A5 and A6.
Timecode overlay on V3.
A4 wound up empty in this screenshot, as this is still very much a first pass and I wanted room to play.
Clip names are turned off to protect the innocent.
Leave a Reply